Understanding Light-Tissue Interaction in Aesthetic Treatments
Every pulse you deliver enters skin and follows a path. Some light reflects. Some scatters. Some gets absorbed and turns into heat. When you understand that path, you choose safer settings and you produce steady results. This article shows you what happens inside the skin and how to use that knowledge during treatment.
These concepts support the five parameters you set on your device. If you want structured practice with real cases, enroll in the Live Course or begin the Online Course. Both build on published work listed on ResearchGate.
The Basics: What Light Can Do in Skin
Light can only do four things in tissue. It can reflect, refract, scatter, or absorb. Your goal is to increase useful absorption in the correct target while limiting reflection and scatter.
- Reflection: Light that bounces off the surface. Oil, makeup, and poor coupling increase it. Clean skin before treatment. Use contact tips or gel if the platform requires it.
- Refraction: Light that bends when it moves between air, gel, and tissue. Stable handpiece angle and even contact keep refraction predictable.
- Scattering: Light that spreads inside tissue and loses intensity. Smaller spots and short wavelengths scatter more. Larger spots reduce edge scatter and reach deeper layers.
- Absorption: Light that a chromophore captures. Absorbed energy becomes heat. That heat produces your clinical effect.
Control begins with preparation. Remove makeup and sunscreen. Shave hair for body areas when indicated. Dry the skin if you use a contact tip. Simple steps increase the portion of energy that reaches the target.
Chromophores: The Targets That Matter
Three chromophores dominate aesthetic practice. Melanin, hemoglobin, and water. Each has a known absorption curve and behaves in a specific way when heated.
- Melanin: Present in epidermis and hair follicles. Absorbs visible and near infrared light. Example uses include hair reduction and pigment concerns.
- Hemoglobin: Present in blood vessels. Absorbs green and yellow light strongly. Example uses include facial telangiectasia and vascular lesions.
- Water: Present in all tissue. Absorbs strongly above 1400 nm. Example uses include ablative and nonablative resurfacing.
When you pick a wavelength, you pick a target. That choice defines depth and safety limits. It also guides pulse duration and fluence.
Depth and Wavelength: How Far Light Travels
Penetration depth changes with wavelength and spot size. Short visible wavelengths interact near the surface. Near infrared wavelengths reach deeper dermal structures. Large spots reduce scatter and push energy further into tissue at the same fluence.
- Short wavelengths, such as 532 nm, stay shallow. They suit thin vessels and epidermal pigment.
- Mid wavelengths, such as 755 nm, reach hair follicles in lighter skin types.
- Long wavelengths, such as 1064 nm, reach deeper vessels and offer safer options for darker skin because epidermal melanin absorbs less.
Every device has limits. Know your handpiece optics, available spot sizes, and beam profile. A flat top profile gives even energy. A Gaussian profile peaks in the center and falls at the edges. Your overlap strategy depends on that profile.
From Light to Heat: Why Timing Matters
Absorbed light becomes heat. Heat must rise high enough inside the target to create the effect you want. The skin around the target must stay below injury thresholds. You manage this balance with pulse duration and cooling.
Thermal relaxation time is the guidance you use. It is the time a structure needs to lose half its heat. Small targets cool fast and require short pulses. Large targets cool slow and allow longer pulses. Match pulse duration to target size to confine heat where it is useful.
- Pigment granules. Use very short pulses. Q-switched and picosecond devices deliver these pulses.
- Hair follicles. Use millisecond pulses to heat the full follicular unit while protecting the epidermis.
- Vessels. Use pulse durations that scale with diameter. Thin vessels respond to short pulses. Larger vessels need longer pulses.
Cooling protects the epidermis but does not change the target’s physics. Use it to raise comfort and reduce surface temperature, not to excuse unsafe settings.
Fluence in Context: Dose With a Window
Fluence is energy per square centimeter. There is a useful window for every target. Below the window, results are weak. Above the window, risk increases. The window shifts with wavelength, spot size, and skin type.
- Increase spot size. Consider a small reduction in fluence to reach the same endpoint because penetration improves.
- Shorten pulse duration. Expect higher peak temperature at the same fluence. Consider a small reduction for comfort and safety.
- Work on higher Fitzpatrick types. Reduce fluence at melanin-absorbing wavelengths. Increase cooling. Favor longer wavelengths when possible.
Document your endpoint. In hair reduction, look for perifollicular edema. In vascular work, look for immediate blanching that relaxes. In pigment, look for controlled frosting with rapid return to baseline color. Document what you see and what you set. That record improves the next session.
Case Examples: Applying Light-Tissue Knowledge
Example 1. Lower leg hair reduction, Fitzpatrick III
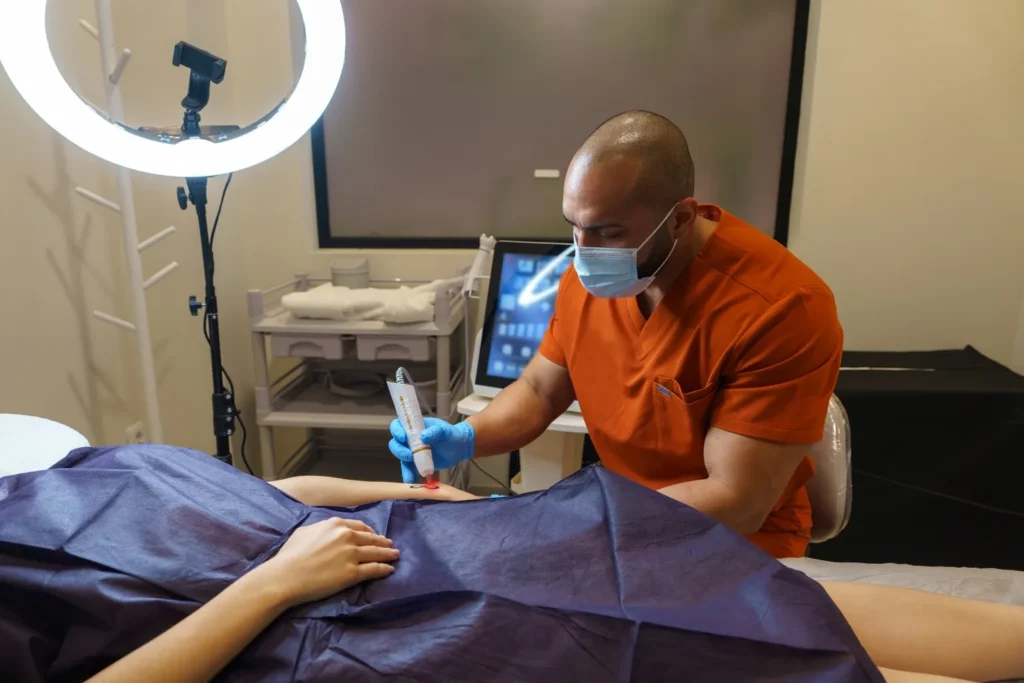
Goal. Heat coarse follicles while protecting the epidermis. Use a wavelength that reaches the bulb, such as 755 nm or 810 nm. Choose a large spot, 15 to 18 mm, to reduce scatter and speed coverage. Select a pulse duration near the estimated follicle TRT, often 20 to 30 ms. Set fluence inside the device’s recommended safe range and confirm endpoints with test spots. Apply contact or cryogen spray cooling before each pulse. Monitor for perifollicular edema without surface whitening.
Example 2. Facial telangiectasia
Goal. Collapse small vessels with minimal purpura. Use a wavelength with strong hemoglobin absorption, such as 532 nm or 595 nm. Work with a small spot for precision. Use short pulses for thin vessels. Start with conservative fluence and watch for transient blanching. Reduce repetition rate to allow inspection between pulses and prevent heat stacking.
Example 3. Nonablative texture improvement
Goal. Create controlled dermal heating while preserving the epidermis. Choose a water-absorbing wavelength above 1400 nm. Use a spot size and density that match the indication. Keep fluence in the safe window for nonablative effect. Use active cooling on each pass. Track patient comfort and adjust repetition rate to control cumulative heat.
Avoiding Complications: Manage the Energy Path
- Reduce reflection: Clean the skin. Remove oil and makeup. Seat contact tips firmly.
- Control scatter: Use larger spots when you need depth. Keep overlap consistent to avoid hot spots.
- Protect the epidermis: Use cooling that matches the platform. Do not let cooling hide unsafe fluence or pulse choices.
- Prevent heat stacking: Moderate repetition rate on large areas. Add pause time when skin warms.
- Watch endpoints: Pause after each short pass and inspect. Good endpoints guide safe adjustments.
These steps rely on physics and observation. They are simple to learn and easy to repeat once you practice them under guidance.
A Simple Workflow You Can Use Today
- Identify the main chromophore. Melanin, hemoglobin, or water.
- Select the wavelength that matches the target and skin type.
- Estimate target size and choose a pulse duration near its thermal relaxation time.
- Pick a spot size based on depth and field size.
- Set a starting fluence inside the safe window for the device and indication.
- Choose a repetition rate that allows endpoint checks and thermal control.
- Apply cooling as specified for the platform. Confirm comfort and safety.
- Perform a test spot. Observe the endpoint. Adjust within the window.
- Document all settings and the endpoint. Schedule follow up and refine.
This process gives you a repeatable plan for any device. It reduces guesswork and makes results easier to explain to patients and staff.
Training and Continuing Education
Light-tissue interaction looks complex when you read device manuals. It becomes simple when you see it in action with clear instruction. The Live Course shows how real tissue responds as you adjust one setting at a time. The Online Course covers the same core ideas with lessons, quizzes, and case reviews. Many of those cases appear in peer-reviewed work listed on ResearchGate.
Your patients do not need technical terms. They need safe care and steady results. Understanding the path of light in skin helps you deliver both.
Common Questions
Does wavelength always decide depth?
Wavelength guides depth, but spot size and scattering also matter. Larger spots usually reach deeper at the same fluence.
Is more cooling always better?
Cooling protects the surface, but it does not fix unsafe settings. Use it to support comfort and epidermal safety while you keep parameters within the window.
How do I avoid overheating during fast passes?
Lower repetition rate, shorten each pass, and add pause time. Use cooling between rows. Watch the skin after every short pass.
Can presets replace clinical judgment?
Presets are starting points. Adjust for skin type, target size, wavelength, spot size, and observed endpoints.
Where can I practice this with guidance?
You can train in a supervised setting through the Live Course or learn with flexible modules in the Online Course.
Ready to Apply Light-Tissue Principles With Confidence?
Use this guide as your checklist. If you want hands-on coaching or a structured path, join the training that matches your schedule.